Quick Steps to Start with Wizer
#1 - Add Users
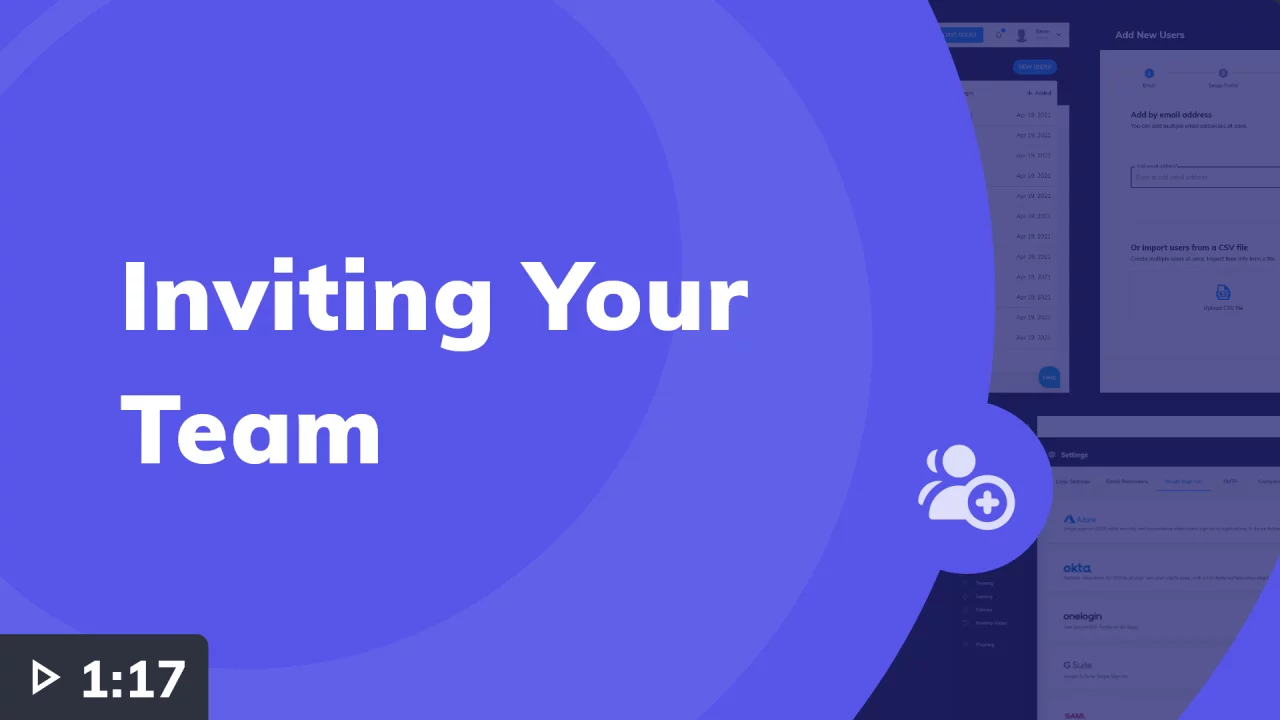
Use one of the below options to add users:
- Manually enter email addresses;
- Upload a User CSV file for multiple email addresses;
- Enable Single-Sign-On and upload User CSV;
- Configure Automatic Provisioning available for Azure, Okta, OneLogin, and Google Workspace (request SCIM bearer token from Wizer Support).
#2 - Assign Tasks
- Send an announcement email to your team;
- Start with Annual Training. It covers all the basics and complies with SOC2 and CMMC;
- Turn on the Monthly Video once you get the basics covered to keep training fresh;
- Launch the Phishing Exercise to teach learners how to spot phishing;
- Add focused training, such as Smishing or Work From Home, once a quarter;
- Run a Phishing Simulation monthly, bimonthly, quarterly, or biannually to learn how well employees can spot and report phishing emails;
- Share with your team the Policies that require acknowledgement and track who has done so.
#3 - Visit Learner
Console
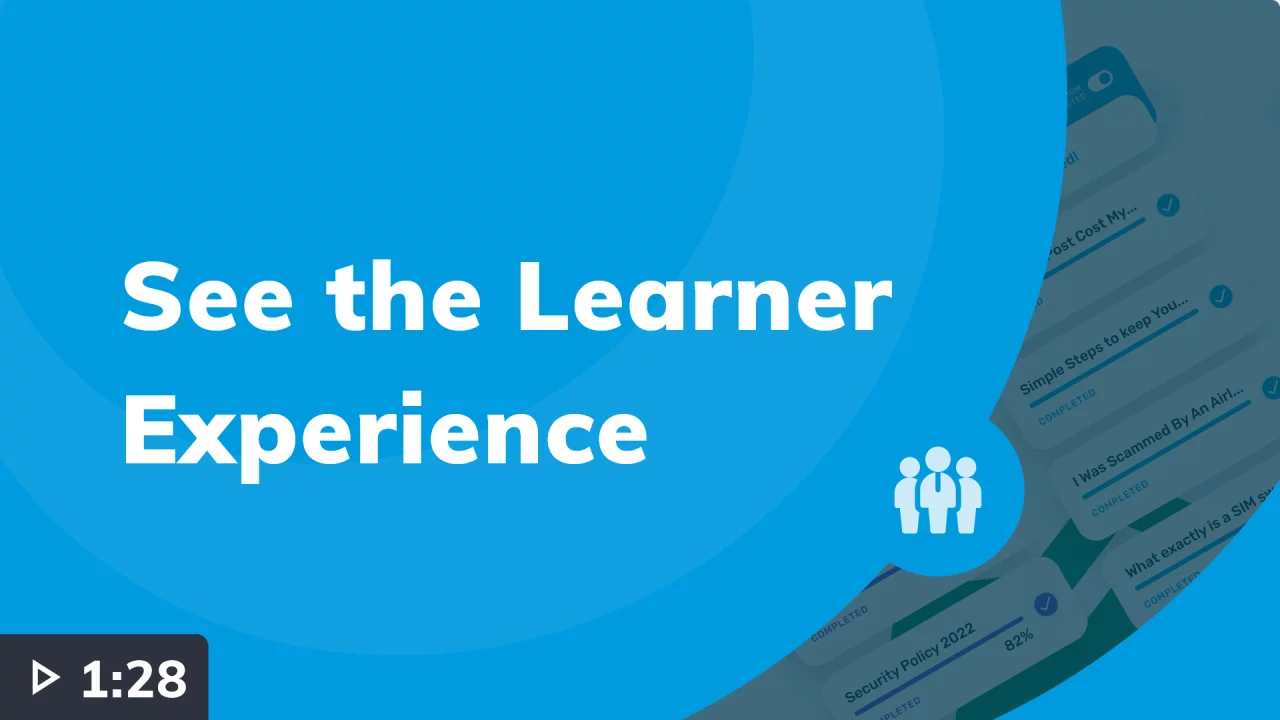
Have a look at the Learner Console. All the tasks for your
team will be visible here.
team will be visible here.

#4 - Analyze Reports
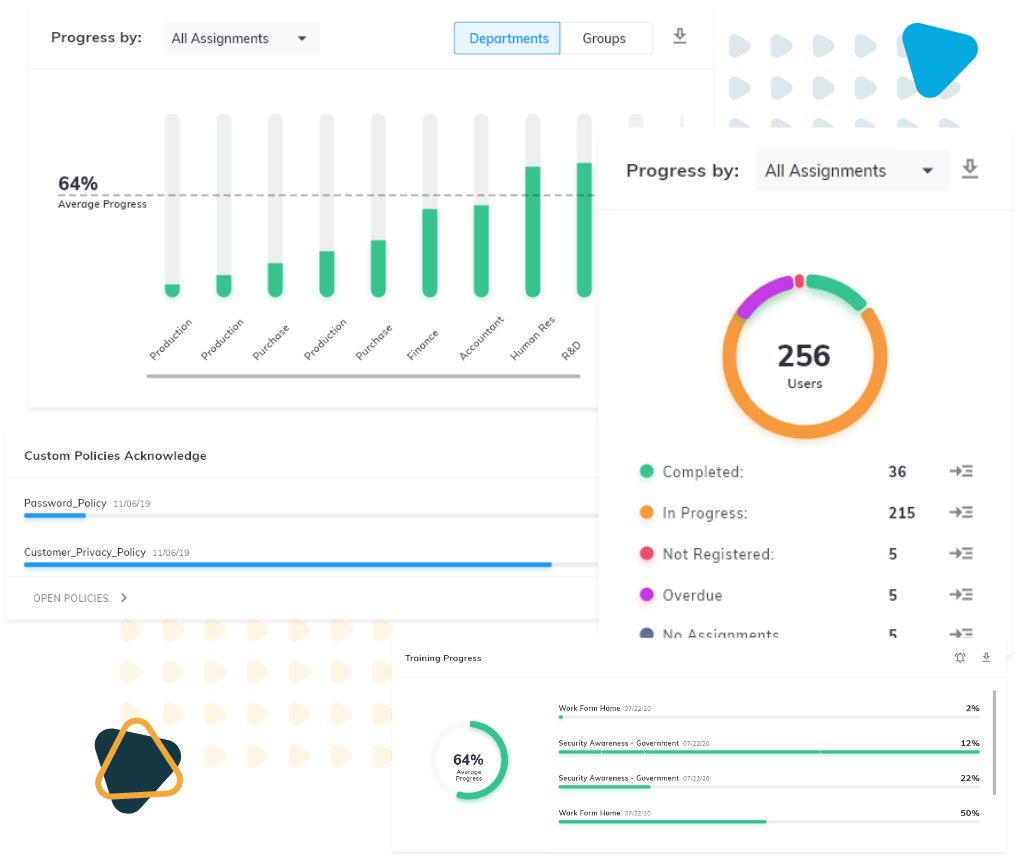
The Dashboard provides you with both a high-level and a
granular view of the results for all assignments. Track progress to adjust training to customize the experience and export reports as needed.
granular view of the results for all assignments. Track progress to adjust training to customize the experience and export reports as needed.

#5 - Check Reviews
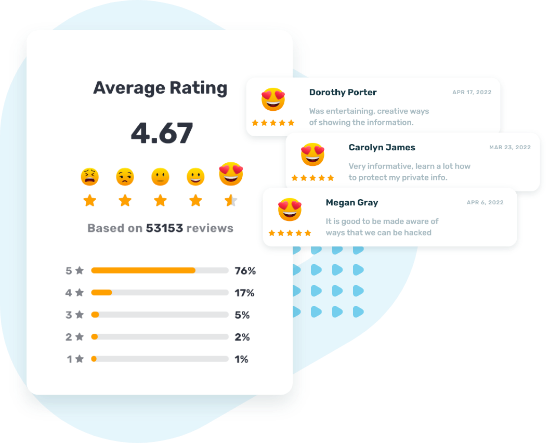
Get insights on your team’s experience with the learning from their feedback in the Reviews section.


